Because Perfection is Overrated
We’ve all seen it—that lush, Pinterest-perfect raised bed garden that’s flooding your social feeds. Perfect cedar or metal raised garden beds, moon-colored rock or striking black mulch, spread in between. For funsies, let’s say it’s fenced in, or has a beautiful arched garden trellis running between beds filled with only the best organic soil. Of course, you’re out there with that flowing dress, or maybe your raised bed vegetable garden is in an ultra-modern suburb, and you’re gardening with your ridiculously good-looking partner and friends nearby while the twinkle lights turn on at dusk. Sounds like a dream, right?
Welp, as our good friend Eminem says, let’s snap back to reality. Five of those fancy Vego garden beds will cost a bajillion dollars, not to mention filling those bad boys, digging out your yard to make it level, and getting a dump truck load of compost and garden soil. But, I’m all for the drink in the garden with your people in the evenings, so let’s keep that.
If your goal isn’t to look like a tradwife or get your garden featured in Architectural Digest, but instead to relieve stress, get your hands dirty, save money in the long run, and maybe grow a few things that are good for you and the environment—have I got great news for you: You can do this on the cheap.
Step 1: Give Yourself Permission to Make it “Good Enough”
I guarantee you Great Grandma Bertha didn’t win the county fair prize for best tomatoes because she was using a $500 raised garden bed kit.
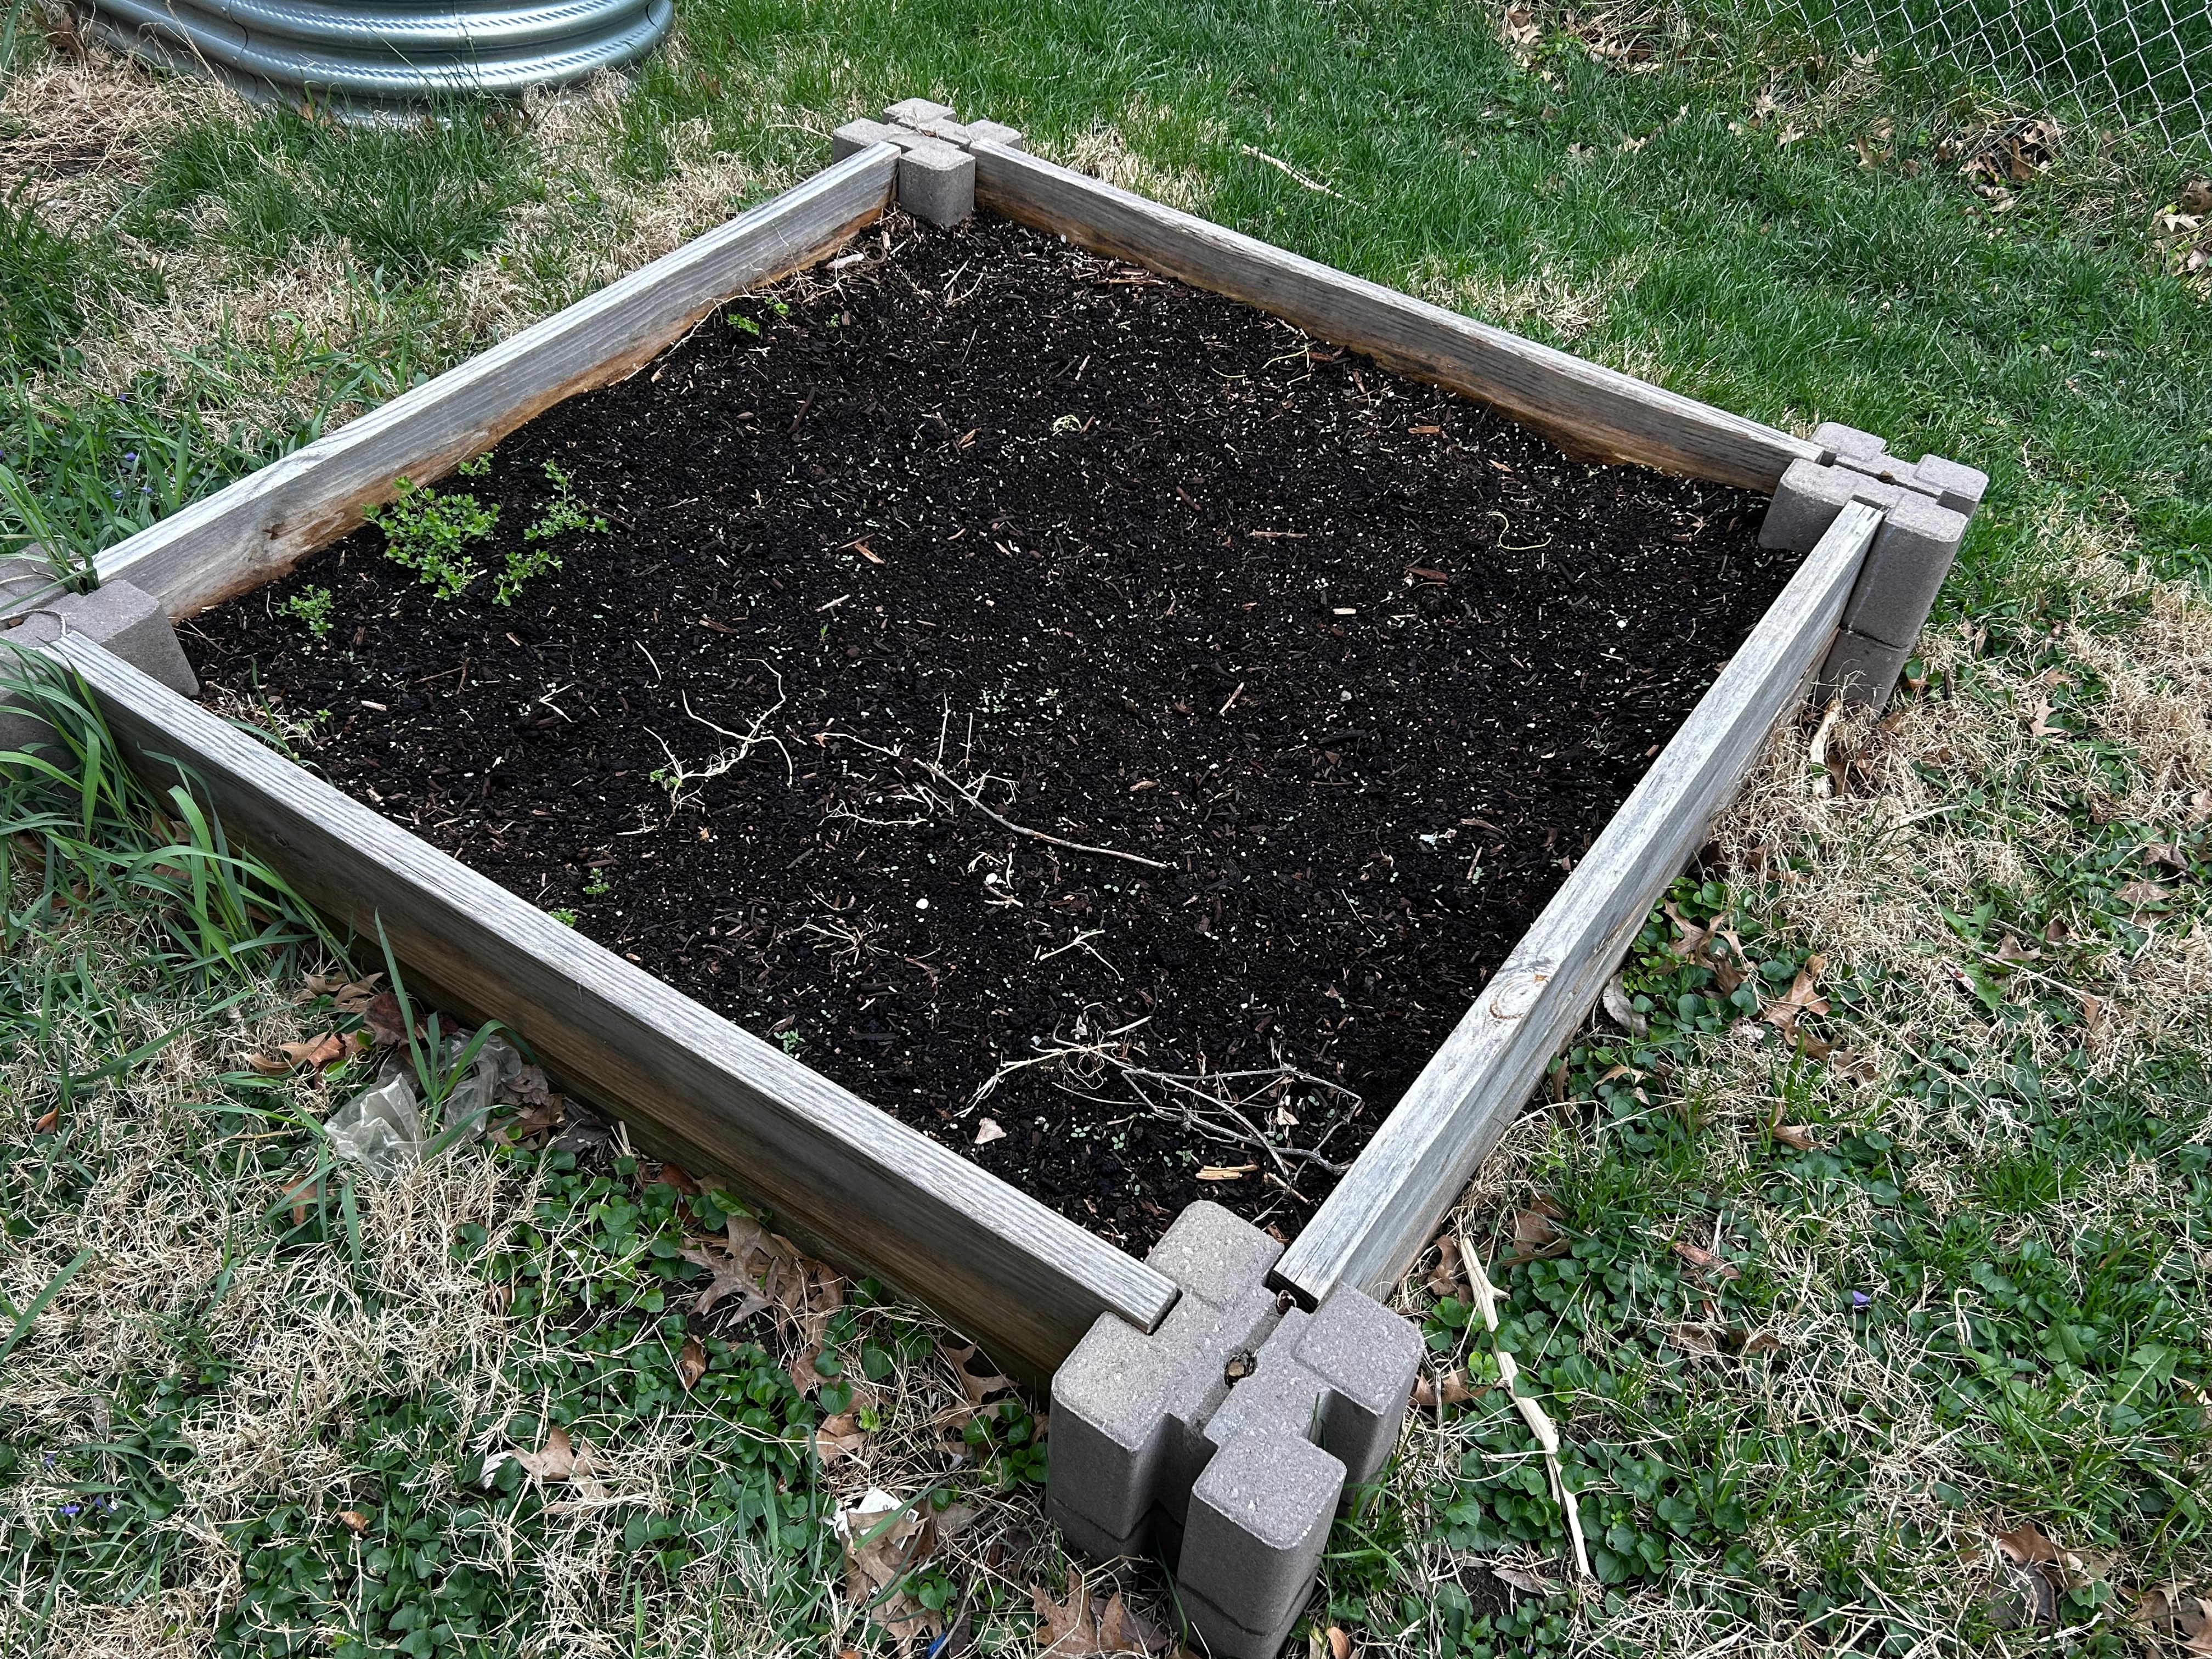
Before you build anything or spend any money, say this with me: “I am learning. I am trying. I will mess up.” And you know what? Messy raised garden beds with imperfect edges still produce delicious tomatoes and gorgeous companion plants. My first raised bed looked more like a diamond than a square (I really thought it was square at the time). Do you know how many people have told me they care? Exactly zero. And if someone does criticize it? Jettison them from your life. You don’t need that negative energy. At the very least, don’t share your tomatoes with them.
Step 2: Start with What You’ve Got
Got some old lumber from a past project? Fantastic! Cinder blocks from a patio upgrade? That’s great too. Maybe you live in a wooded area and have some big tree branches that could work (that honestly sounds like a dream). But what if you don’t live in a magical forest or have ample materials sitting around? No problem, I’ve got you.
- Many local businesses give away wood pallets for free—just ask.
- Check Facebook Marketplace or Craigslist for cheap or free raised bed gardening supplies.
- Use hugelkultur methods to reduce the amount of soil you need (aka fill the bottom with logs and branches before adding soil).
Step 3: Figure Out What You’re Willing to Spend
Because we aren’t all Kardashians, we have to consider things like “how much can I spend on this hobby while still giving my cat the life he’s accustomed to, and other necessities, like, ahem… electricity?” A budget is telling your money what to do, and I’m all for that (unless I’m in a bookstore, in which case I say, “Budget? Never heard of her.”)
In the case of raised bed gardening, things can escalate quickly, as they say. Your budget will determine the size of your bed because you have to think of:
- Frame expenses – metal raised garden beds vs. wood vs. cinder blocks. They all have their pros and cons and different costs.
- Filling it with soil and other things – Do you need organic soil or can you create a blend using compost and native dirt?
- The cost of the seeds or transplants you’re going to put into it.
- If you don’t have them, any tools you need to build your beds.
Remember, there is no perfect raised bed garden. There are great raised garden bed kits that cost less than $50 (depending on the size of the bed). There are also great kits that cost $500. It all depends on what works for you.
Step 4: Don’t Sweat the Perfection—Just Build the Thing
Listen, your raised bed vegetable garden will not look like the ones you see on Instagram. You don’t need to spend hours analyzing the benefits of metal vs. wood. Chances are, you are not a materials scientist. Your bed might have a few crooked edges. Some of your plants might look like they’ve given up after a week of heat. But guess what? That’s okay.
Gardening is not about perfection. It’s about learning, failing, trying again, and eventually reaping some seriously delicious rewards that you will not share with people who complain about the way your garden looks. (And let’s be real, eating homegrown tomatoes with a side of smug is probably better than anything you’ll find at Whole Foods anyway.)
Step 5: Get Planting and Enjoy the Ride
Once you’ve got your raised garden beds in place, it’s time to plant. If you’re new to this, start with easy-to-grow vegetables like lettuce, radishes, or companion plants like marigolds that help keep pests away. Mix in some compost for a nutrient boost, and remember: even if your plants don’t thrive, you’re still learning and will have spent time outside, hopefully with your favorite podcast or audiobook in your ear.
So grab your shovel, ignore the Pinterest pressure and get to it. Because a cheap, crooked raised bed filled is still a million times better than a perfect one that never got built.

Leave a comment